DIY Installation Guide
These step-by-step videos cover the easiest DIY installation method for homeowners looking to keep costs down while achieving a great-looking lawn. This method is ideal for smaller projects with minimal seams and simple layouts.
If your project includes multiple seams, intricate cuts, large areas, or challenging terrain, professional installation is highly recommended. If you’d rather leave it to the pros, we’re happy to connect you with a trusted installer in your area.
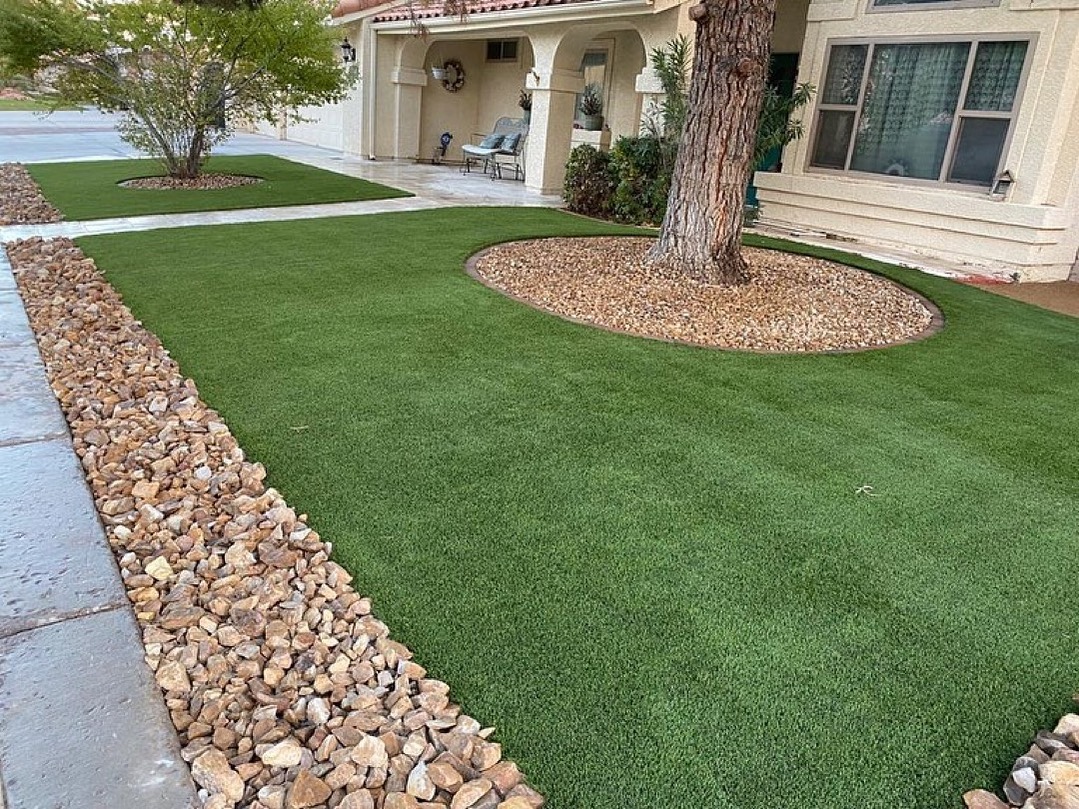
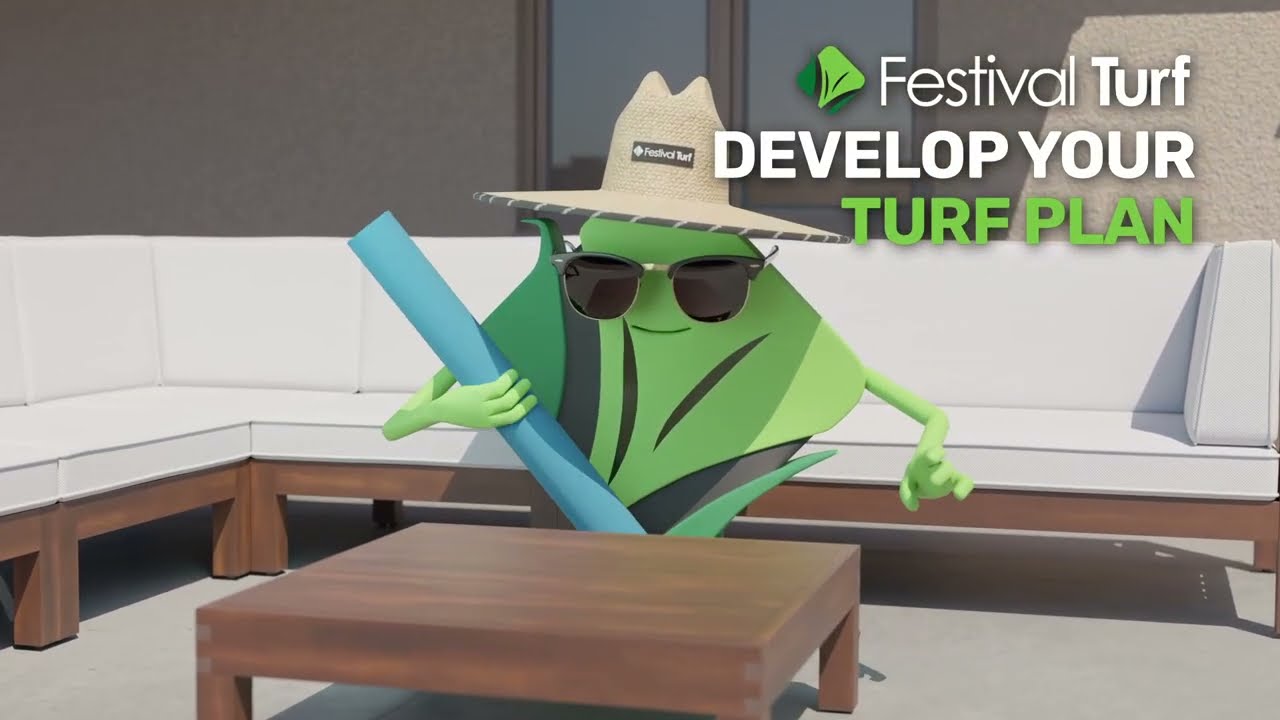
PREP – GUIDE 1 OF 7
Develop Your Turf Plan
Map the space, choose a layout, and calculate how much material the job needs.
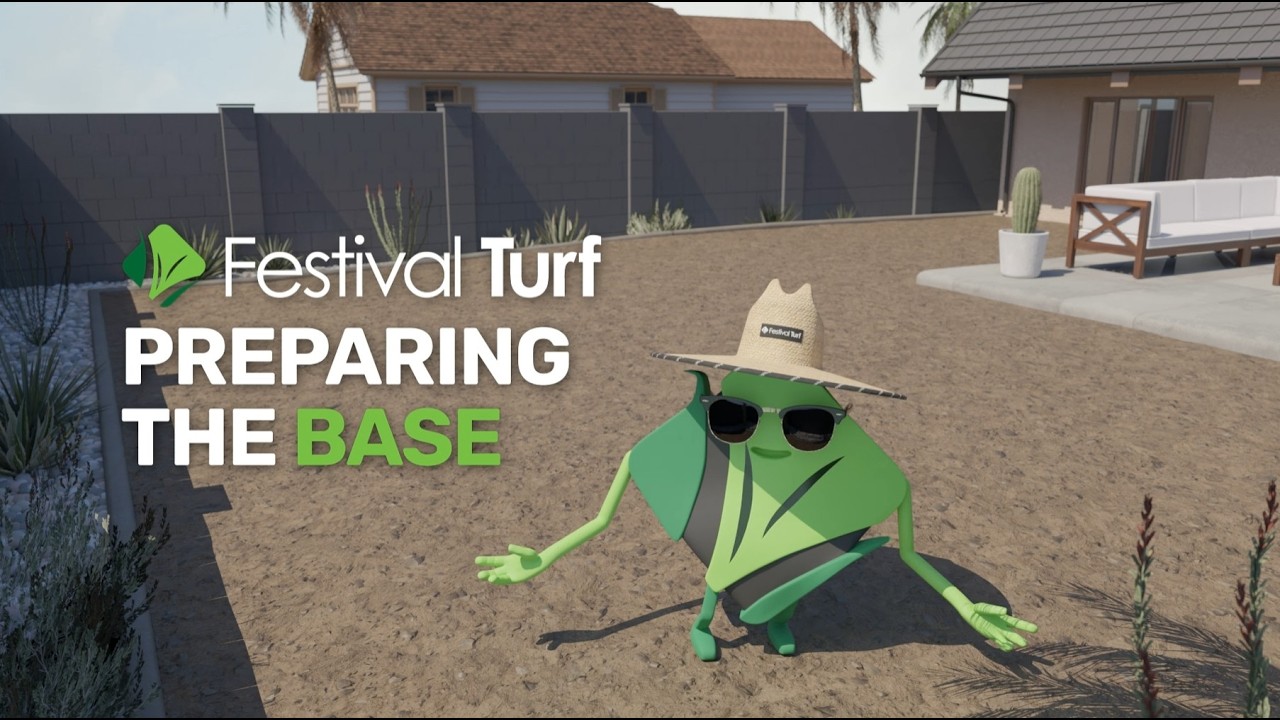
PREP – GUIDE 2 OF 7
Preparing the Base
Excavate, grade, and compact the sub-base for a flat, free-draining foundation.

INSTALL – GUIDE 3 OF 7
Rolling Out Your Turf
Roll out, position, and orient the grain so every panel runs the same way.
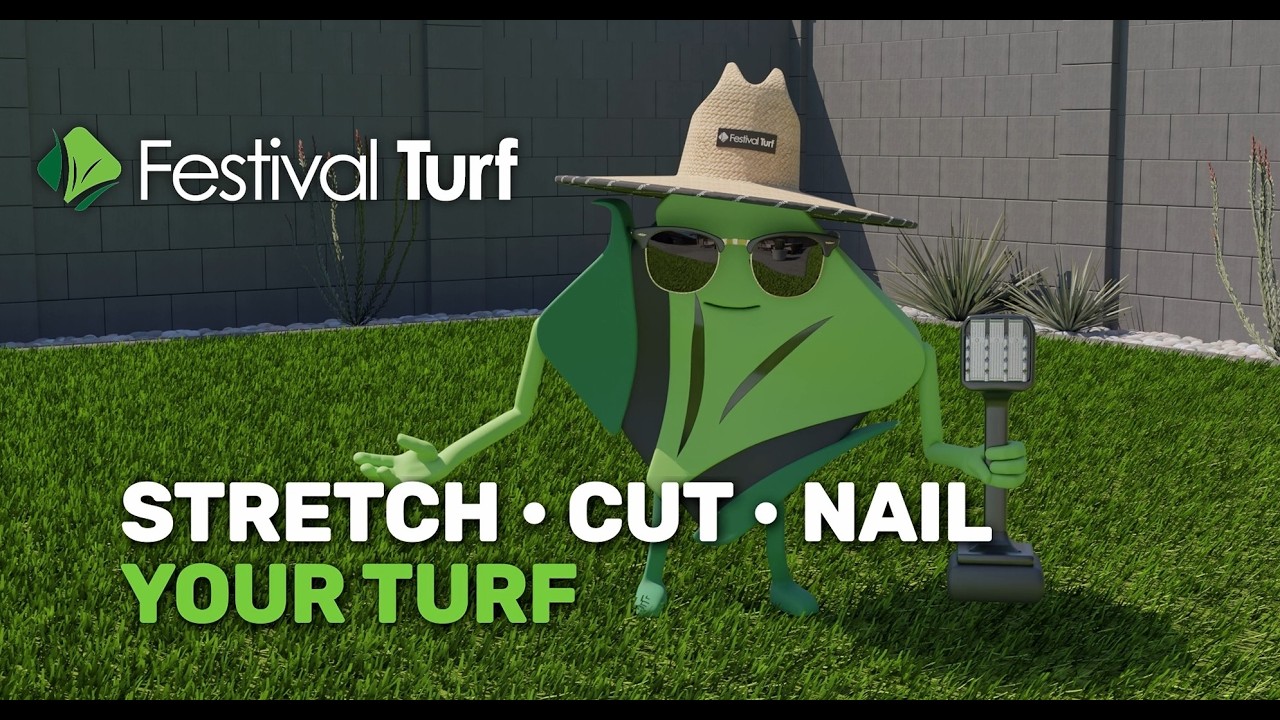
INSTALL – GUIDE 4 OF 7
Stretch, Cut & Nail Your Turf
Trim the edges, stretch out the wrinkles, and nail the perimeter tight.
INSTALL – GUIDE 5 OF 7
Seaming Your Turf
Join panels with seam tape and adhesive for a seam that disappears.
INSTALL – GUIDE 6 OF 7
Adding Infill & Power-Brooming
Apply infill and power-broom the blades upright for a full, even surface.
FINISHING – GUIDE 7 OF 7
Final Touches & Maintenance
Clean up the edges, run a final check, and keep the lawn looking new.
Rather have a pro handle it?
Whether you’re tackling the installation yourself or prefer to leave it to a professional, our DIY video guides can help you get started. Watch step-by-step tutorials, request free turf samples delivered to your door, or connect with a licensed local installer for expert assistance on your project.
Guía de Instalación DIY
Estos videos paso a paso cubren el método de instalación DIY más fácil para propietarios que quieren reducir costos y lograr un césped con excelente apariencia. Este método es ideal para proyectos pequeños, con pocas uniones y diseños simples.
Si tu proyecto incluye múltiples uniones, cortes complicados, áreas grandes o terreno difícil, se recomienda la instalación profesional. Si prefieres dejarlo en manos de expertos, con gusto te conectamos con un instalador de confianza en tu zona.
PREP – GUÍA 1 DE 7
Diseña tu plan de césped
Mide el espacio, elige el diseño y calcula cuánto material necesitas.
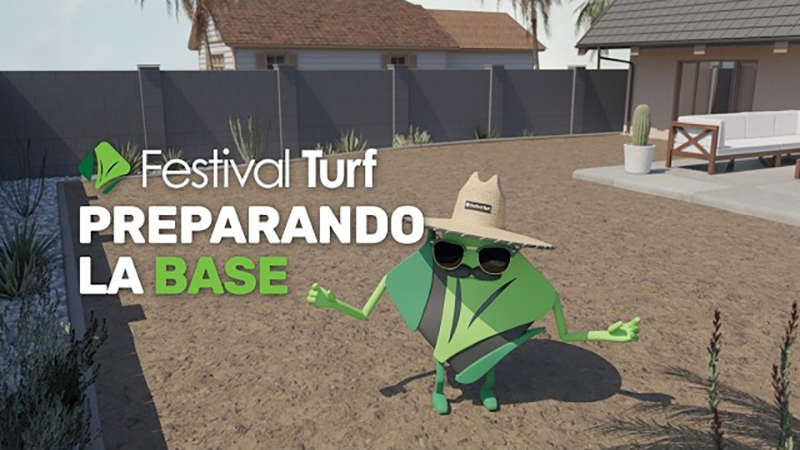
PREP – GUÍA 2 DE 7
Preparando la base
Excava, nivela y compacta la sub-base para lograr una base plana y con buen drenaje.
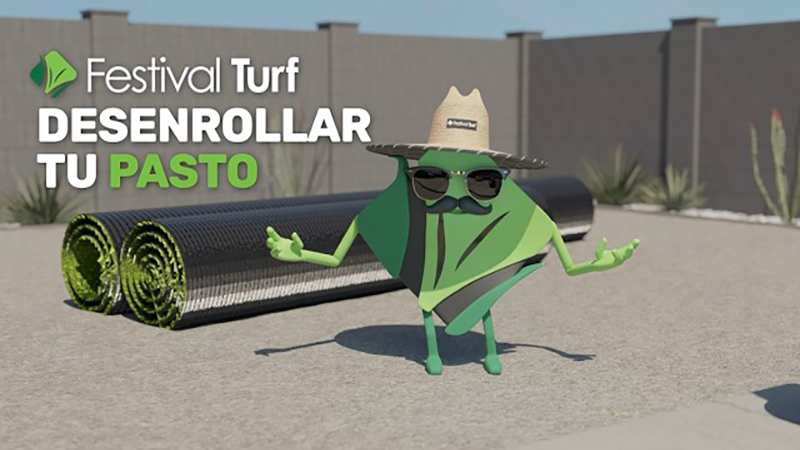
INSTALACIÓN – GUÍA 3 DE 7
Extendiendo tu césped
Extiende, coloca y orienta la fibra para que todos los paneles queden en la misma dirección.
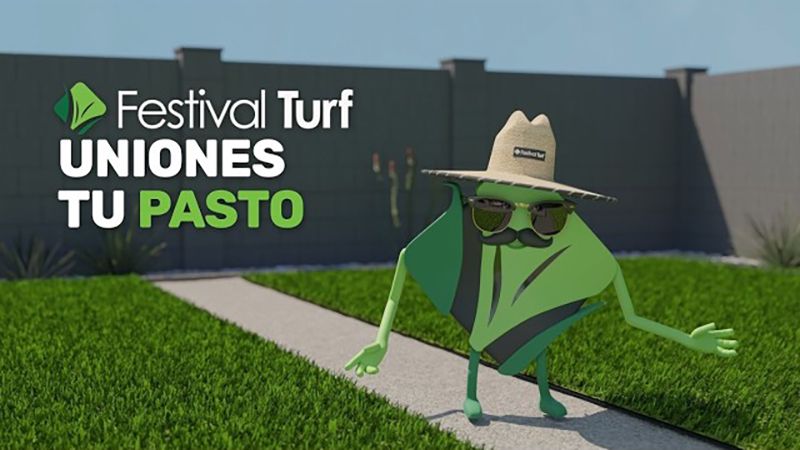
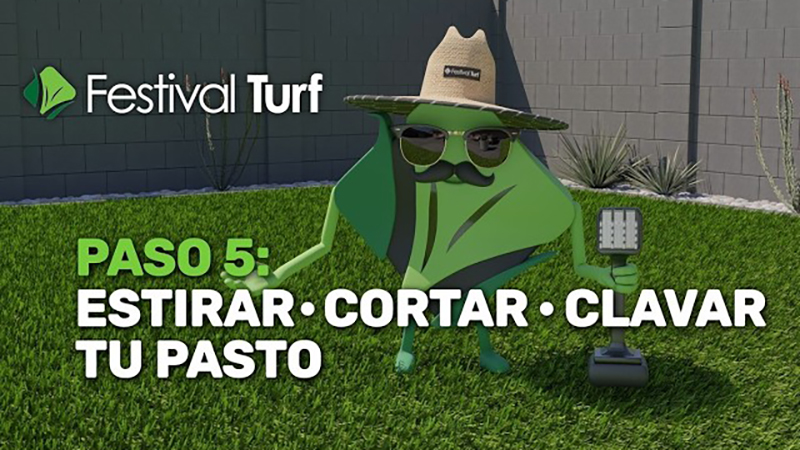
INSTALACIÓN – GUÍA 4 DE 7
Estira, corta y clava tu césped
Recorta las orillas, estira las arrugas y clava bien todo el perímetro.
INSTALACIÓN – GUÍA 5 DE 7
Uniendo tu césped
Une los paneles con cinta y adhesivo para que la unión no se note.
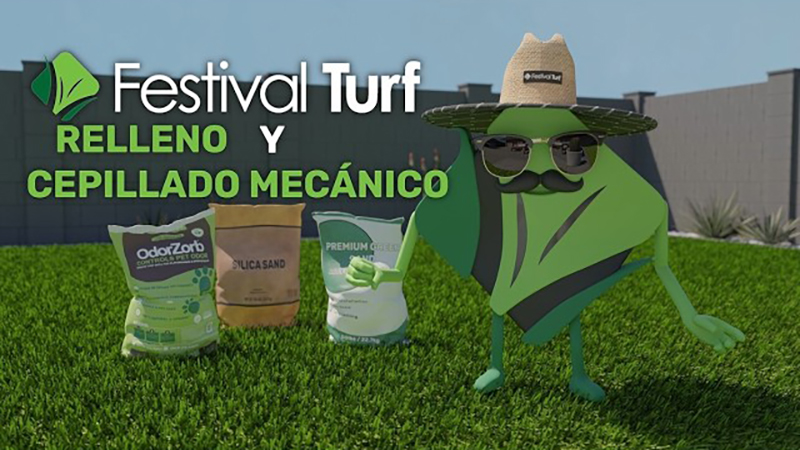
INSTALACIÓN – GUÍA 6 DE 7
Aplicando relleno y cepillado
Aplica el relleno y cepilla las fibras hacia arriba para una superficie llena y pareja.
ACABADO – GUÍA 7 DE 7
Toques finales y mantenimiento
Limpia las orillas, haz una revisión final y mantén el césped como nuevo.
¿Prefieres que un profesional se encargue?
Ya sea que hagas la instalación tú mismo o prefieras dejarla en manos de un profesional, nuestras guías en video DIY te ayudan a empezar. Mira los tutoriales paso a paso, solicita muestras gratis de césped a domicilio o contacta a un instalador local certificado para que te asesore en tu proyecto.