Artificial Grass Drainage: How It Works and Why It Matters for Your Lawn
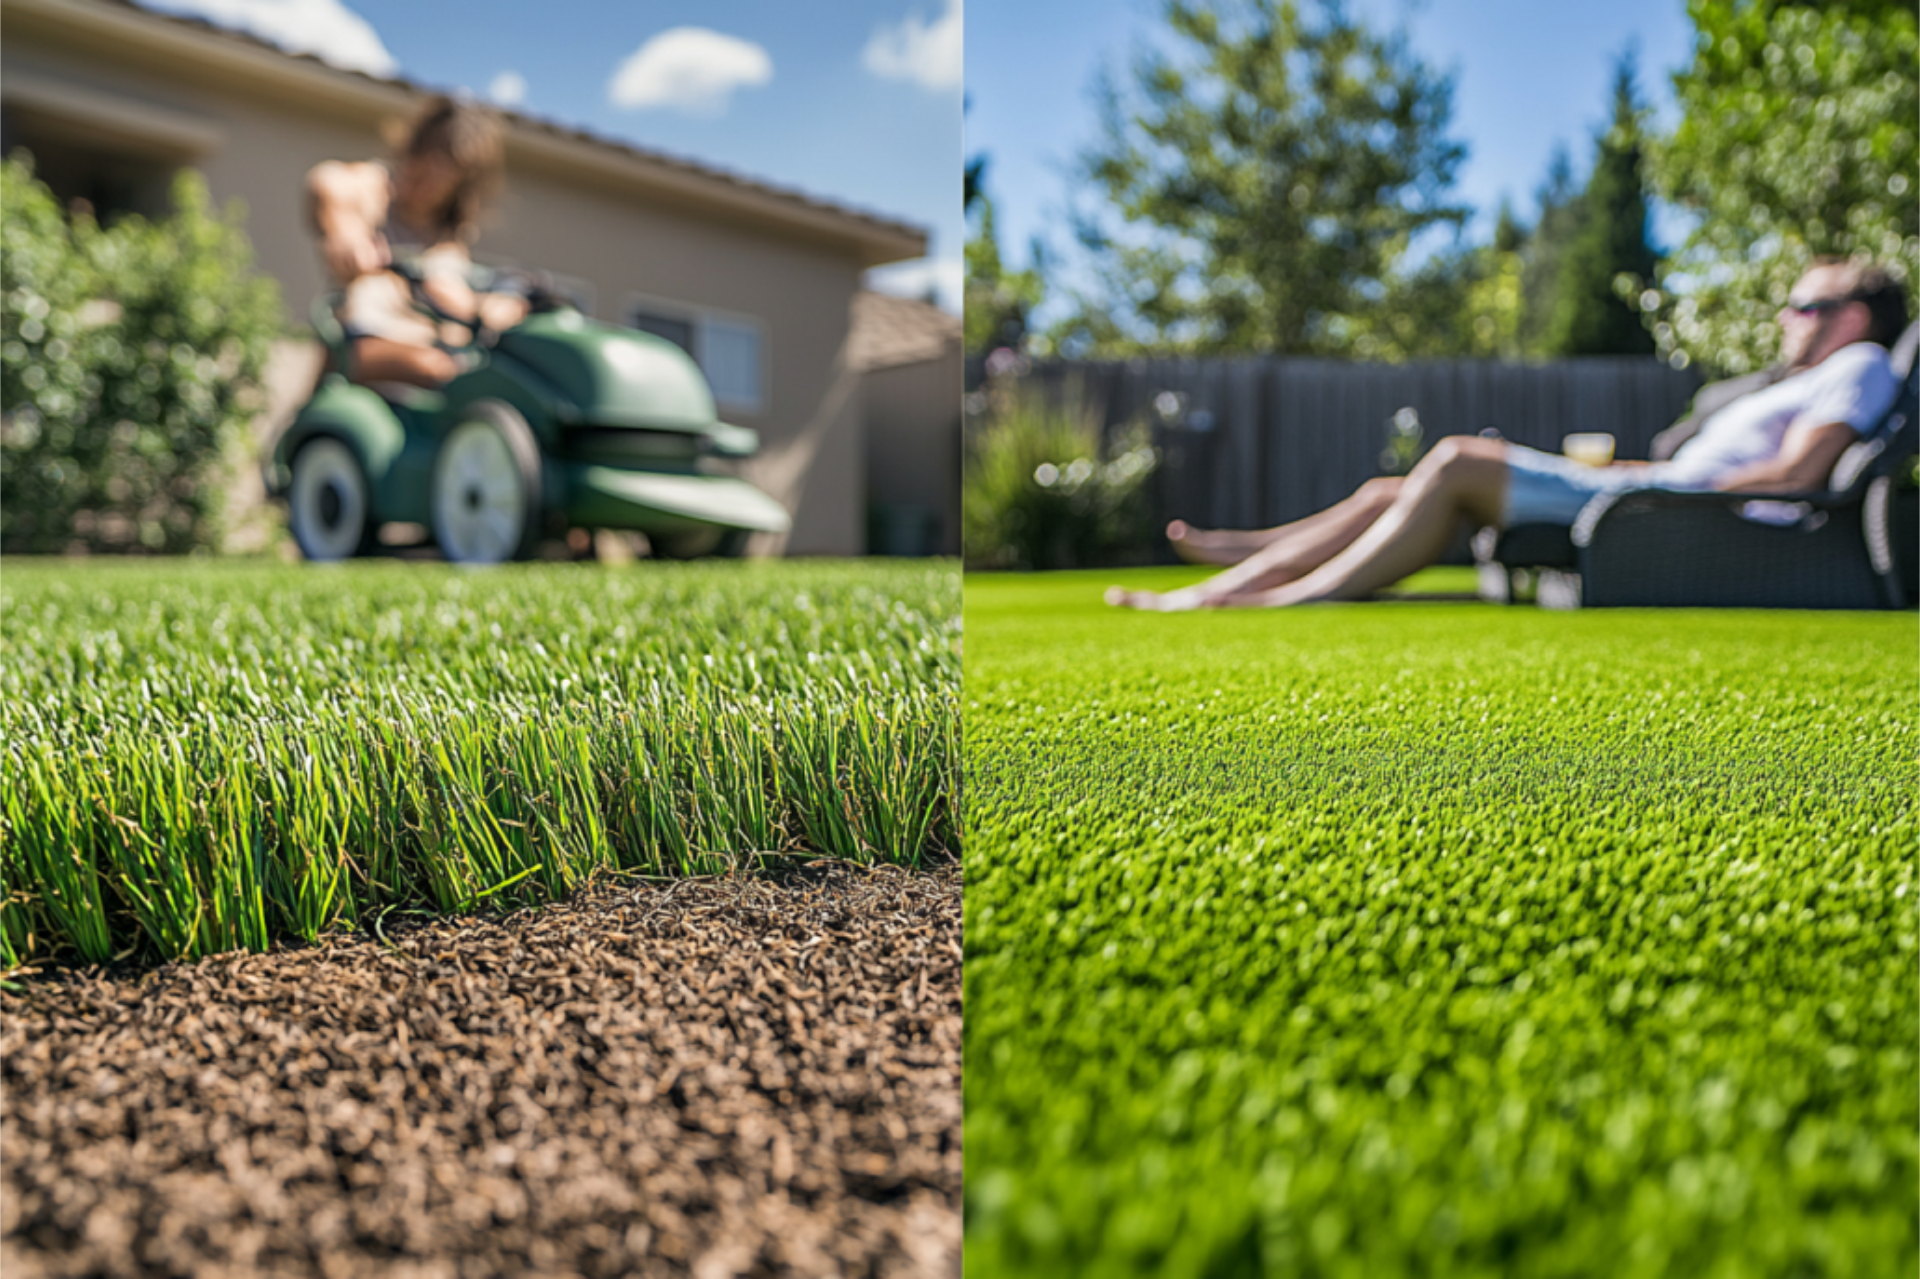
A synthetic lawn offers year-round color and mud-free weekends, but these perks only last if artificial grass drainage carries water away the instant it lands. With a dependable flow path, rain, hose runoff, and pet waste slip through the turf, disappear into the ground, and leave a clean, odor-free surface. Homeowners exploring artificial grass soon realize that top-notch drainage is the key to low-maintenance success.

Understanding Artificial Grass Drainage
Unlike natural grass, artificial turf with engineered drainage prevents water buildup, especially when all layers are properly designed to work as one system.
What Is Artificial Grass Drainage?
Every installation relies on a multi-layered artificial grass drainage system. At the surface, a permeable backing allows water to pass right through, instead of pooling on the plastic yarn. Underneath, a compacted bed of angular stone channels liquid toward the sub-soil or designated outlets. Natural grass typically depends on whatever soil is present, which is why clay-heavy yards often stay soggy hours after rainfall.
How Artificial Grass Drains Water Compared to Natural Grass
Soil compaction and a high water table can slow filtration in a conventional lawn. After heavy rains, puddles may linger until evaporation does the work. Synthetic turf removes that bottleneck: the turf’s backing and rock base combine to act like a giant filter, driving water downward in seconds. Independent testing shows most products handle over fifty inches per hour, ensuring artificial turf drainage remains reliable even during deluges.

Key Components of an Effective Drainage System
Each piece of the system plays a specific role. Leaving out any step invites future trouble.
Permeable Backing and Its Role in Drainage
Many turf rolls are hole-punched, with evenly spaced drainage holes that guide liquid off the yarn. Fully permeable sheets, by contrast, let moisture exit at every point, reducing odors and speeding dry times. Both versions succeed when paired with stable grading by observant installers.
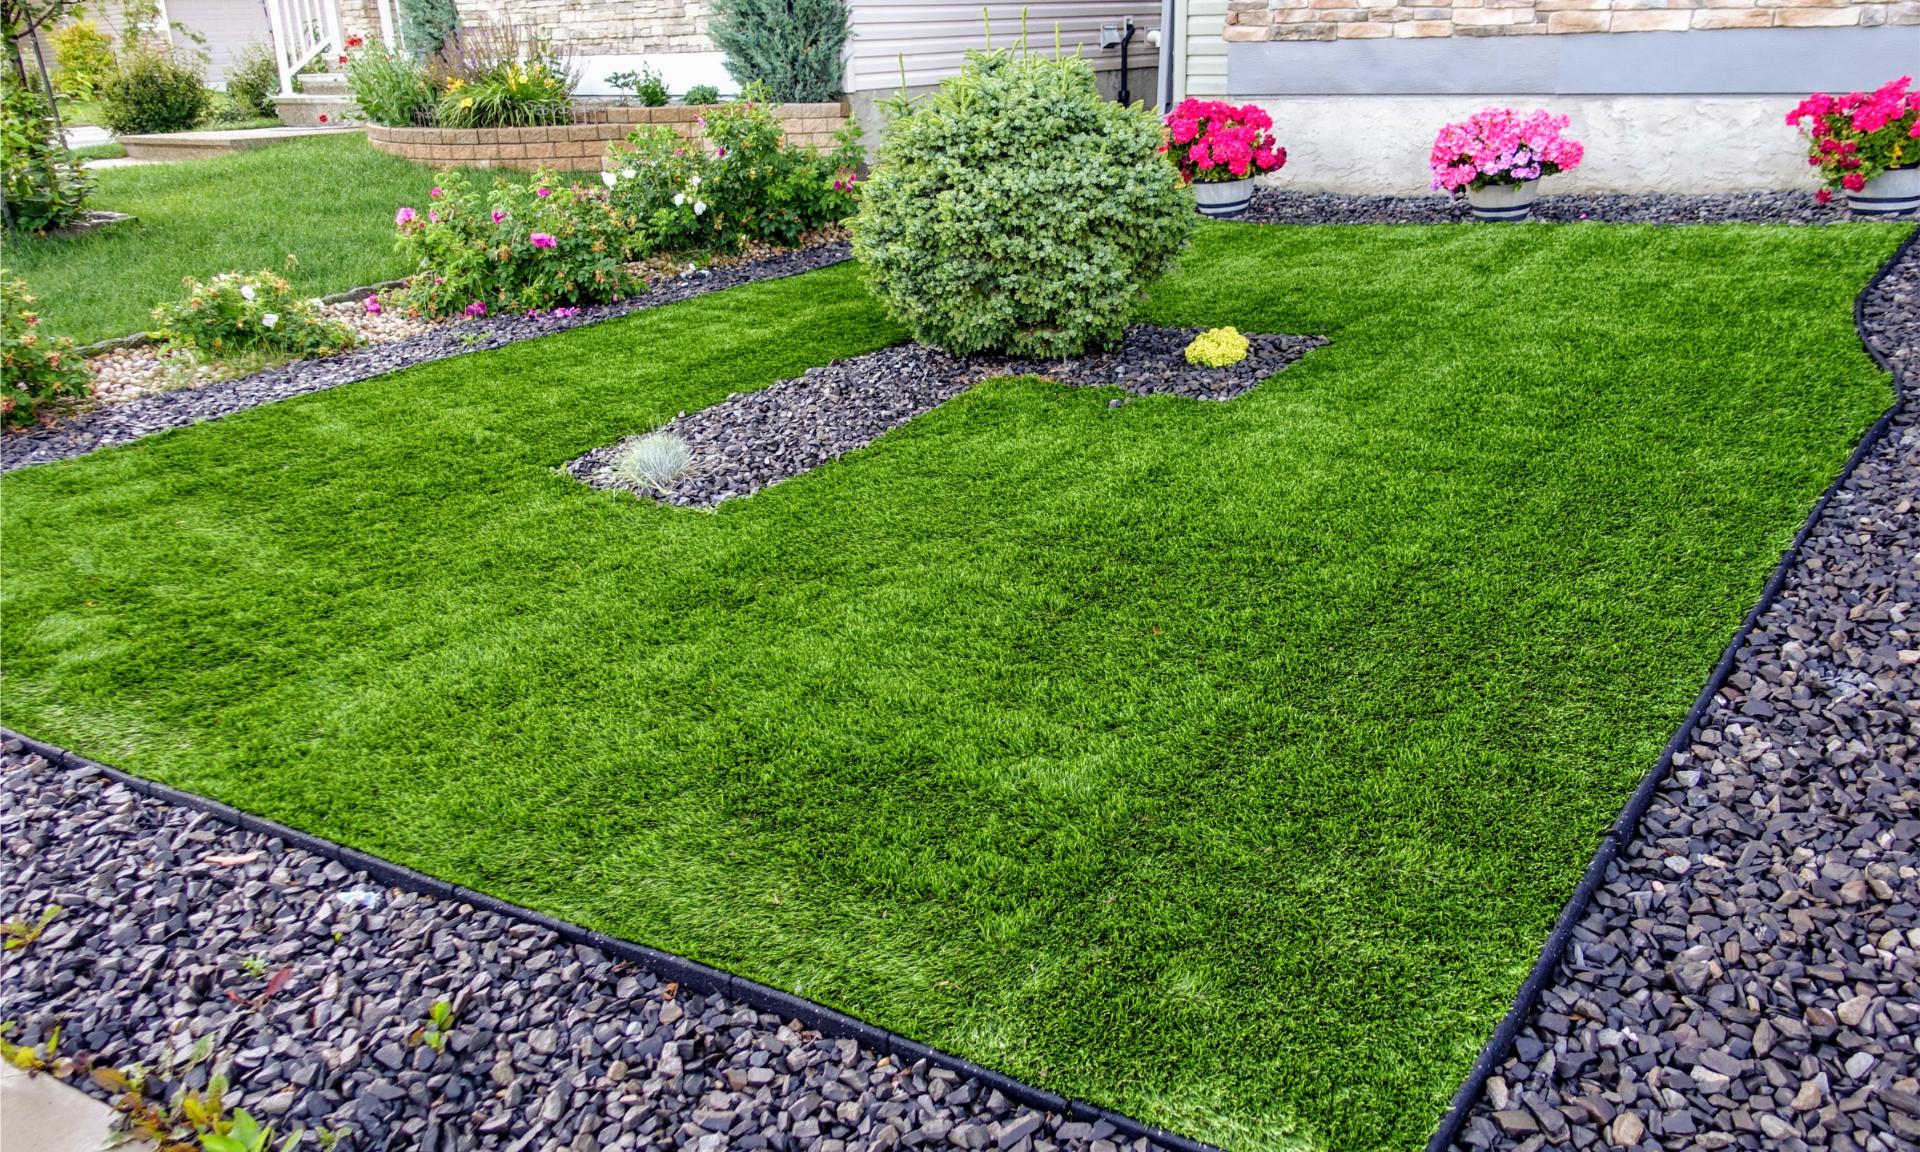
Base Layers: Gravel, Sand, and Other Materials
A three- to four-inch layer of crushed limestone or decomposed granite locks into place for durability while preserving pockets to prevent poor drainage. This aggregate serves as the first stage of drainage for artificial turf, redirecting water away from planters or hardscapes. Creating a lasting base for artificial turf involves using clean angular rock, so water won’t get trapped by excess fines.
Drainage Holes vs. Fully Permeable Turf
Budget often shapes this decision. Hole-punch turf leads in cost-effectiveness, while fully permeable backing shines in kennels or shaded spots that need swift dry-out. Regardless, proper slope and an adequate rock bed ensure long-term artificial turf drainage performance.

Why Proper Drainage Matters for Your Lawn
A well-executed design delivers safety, cleanliness, and long-lasting results.
Preventing Water Accumulation and Flooding
Standing water on the surface weakens seams and can destabilize the underlying base. Seasoned crews frequently create drainage channels or use French pipes so they never have to drain water across footpaths.
Avoiding Mold, Mildew, and Bacterial Growth
Excess moisture fosters mold, algae, and foul-smelling microbes. Installing a separate drainage system under the turf, like perforated pipes, helps keep pet areas odor-free and less reliant on chemical treatments.
Extending the Lifespan of Your Artificial Turf
When adhesives stay dry and fibers aren’t constantly saturated, most installations reach their promised fifteen- to twenty-year lifespan. Trustworthy drainage for artificial turf also wards off problems that arise if moisture lingers beneath the surface.

Common Drainage Issues and How to Fix Them
In most cases, artificial grass drainage issues trace back to errors or shortcuts, not faulty materials.
Poor Installation Leading to Water Pooling
If a sub-grade lacks the recommended two-percent slope, runoff collects in low spots. Raising the turf, shaping a gentle grade, and reinstalling corrects these drainage issues permanently.
Improper Base Materials Affecting Permeability
Over-compacted soil or clay-laden fill can seal off drainage pathways. Replacing problematic areas with coarse gravel revives artificial turf drainage and restores stability in high-traffic zones.
Signs That Your Artificial Grass Drainage Needs Improvement
Chronic puddles, squishy footing, a surge in mosquitoes, or algae streaks often point to problems that demand immediate attention. Regular inspection prevents costly repairs. Early detection can save thousands in replacement costs.

Comparing Drainage for Different Types of Turf
Not all installations are the same, so each setting needs a tailored flow strategy.
- Residential lawns do well with perforated turf above compacted stone once slope and depth are verified.
- Professional sports fields need more extensive aggregate layers, slot drains, and pumps to handle massive volumes of rain.
- Pet facilities benefit from fully permeable backing, plus odor-absorbing infill and high-flow pads for fast draining. Leading types of artificial grass even offer enzyme-resistant fibers.
- Rooftop lounges use lightweight grid systems for drainage, protecting waterproof membranes while ensuring quick runoff.
Every situation is unique.
Contact our artificial grass experts for individualized advice.
The Lasting Benefits of Well-Designed Drainage
Dependable artificial grass drainage is the backbone of a successful synthetic lawn, defending both appearance and hygiene. By pairing permeable turf with properly graded stone, then upgrading to a premium artificial grass drainage system on flat lots or in wet climates, you minimize standing water and let the turf thrive. A robust design promotes bright color, steady traction, and worry-free weekends. You also avoid mold flare-ups, unpleasant odors, and structural headaches, keeping maintenance demands truly light.
In every season, a well-drained lawn proves its value, staying fresh, safe, and ready for any activity you throw at it. That reliability also helps homeowners preserve curb appeal and long-term investment value in any climate.
References:
DFW Turf Solutions. (2024, February 5). Everything You Should Know About Artificial Grass Drainage. Retrieved April 19, 2025, from https://dfwturf.com/everything-you-should-know-about-artificial-grass-drainage/
Platform81. (2023, April 12). Drainage System for Artificial Grass: The Complete Guide. Artificial Grass Direct. Retrieved April 19, 2025, from https://www.artificialgrass-direct.com/artificial-grass-drainage-system/
Simmons Landscape & Irrigation. (n.d.). Does an Artificial Lawn Need a Drainage System? Retrieved April 19, 2025, from https://simmonslandscape.com/does-an-artificial-lawn-need-a-drainage-system/
CCGrass. (2025, March 17). What You Should Know About Artificial Grass Drainage. Retrieved April 19, 2025, from https://www.ccgrass.com/know-about-artificial-grass-drainage/
Ideal Turf. (n.d.). Turf Drainage: Dual Flow and Hole‑Punch Backing. Retrieved April 19, 2025, from https://ideal-turf.com/artificial-grass/turf-drainage/