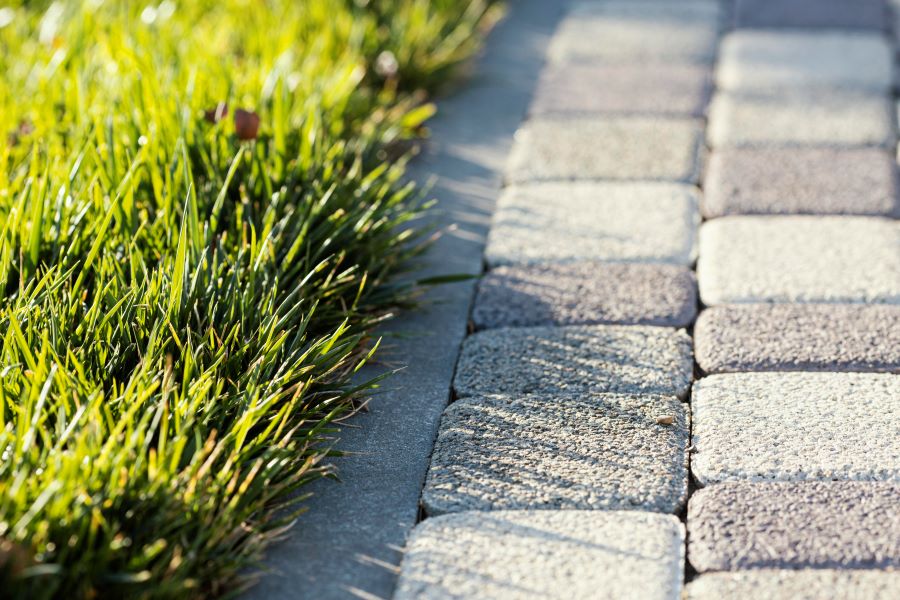
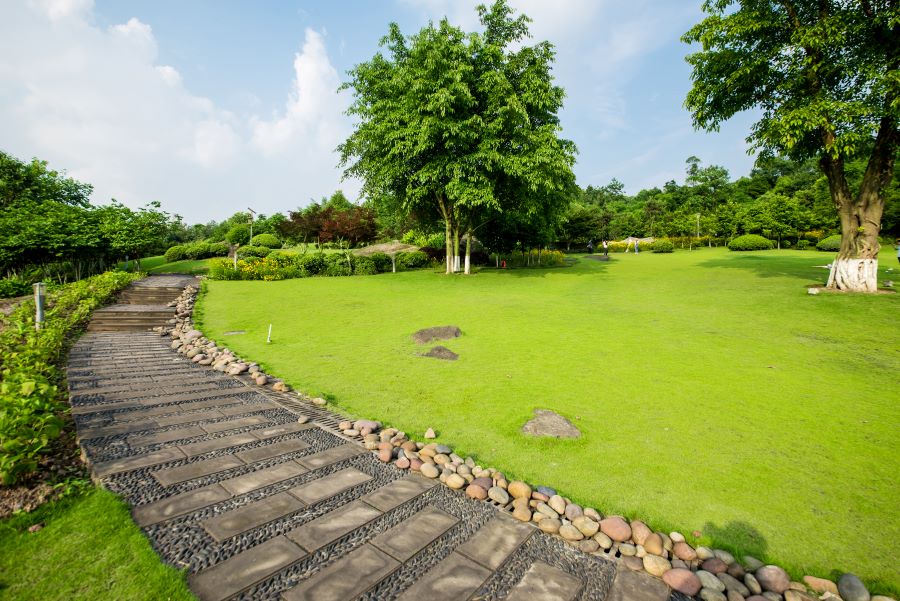
Why Synthetic Grass is the Ultimate Solution for Low-Maintenance Landscaping
Have you ever watched a football match and marveled at the impeccable, vibrant field, wondering if it’s even real, or ever considered adopting these landscaping ideas to your lawn?
Imagine having more space in your schedule and your garden, not needing to mulch or regularly check the soil health. Imagine having a lawn area that looks like a football field, without any unwelcome patches of ground cover or shrubs.
That same high-quality, always-green turf is now revolutionizing home landscaping trends, and it’s not just about aesthetics or saving space. Switching to synthetic grass is like moving from black-and-white TV to full-color; not only does everything look better, but the benefits of this change can be game-changing for homeowners.
Ready to transform your garden into an evergreen paradise? Dive into this article to understand why synthetic grass could be your ultimate solution for low-maintenance landscaping.
The Rise of Low-Maintenance Landscaping Trends
When you tune into your favorite soccer match and notice that ever-vibrant field, it’s hard not to feel a twinge of jealousy for synthetic grass.
And much like that iconic green we so often admire on TV, low-maintenance landscaping is now becoming the talk of the town in neighborhoods everywhere. Think about it. It’s like the shift from black and white TV to color. Suddenly, everything’s brighter, better, and so much easier. No more borders to trim or lawn space to mow, no more ground cover or shrubs to deal with.
So next time you’re sitting on your porch, sipping on a cold beverage, and you glance at your perfect lawn, remember the synthetic grass secret. You’ve got a yard that’s the envy of the neighborhood, with the luxury of time on your side. No more wrestling with mowers, no more monitoring soil health, no more replacing succulents that didn’t thrive in your climate, or playing guessing games with fertilizers. It’s just you, enjoying the outdoors, on a lawn always ready for the spotlight.
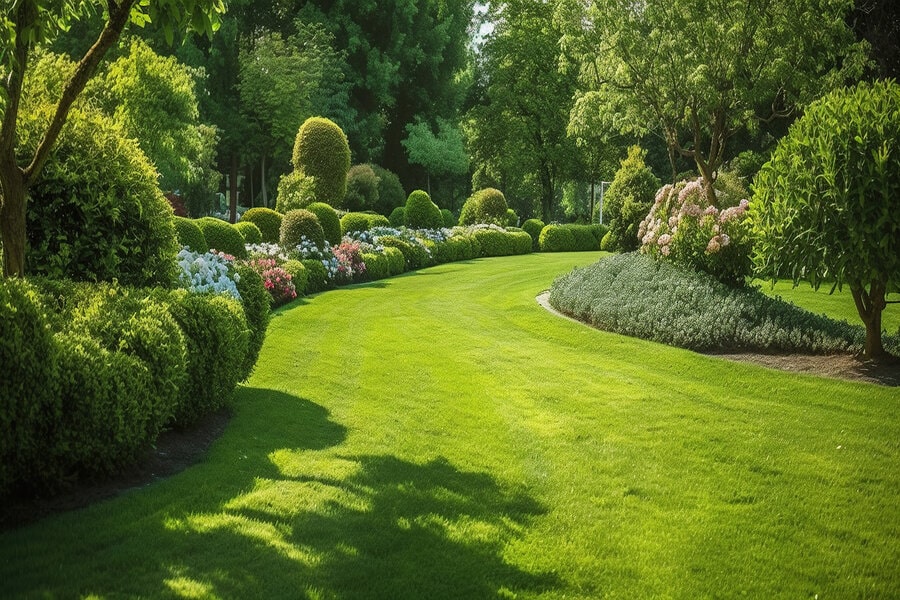
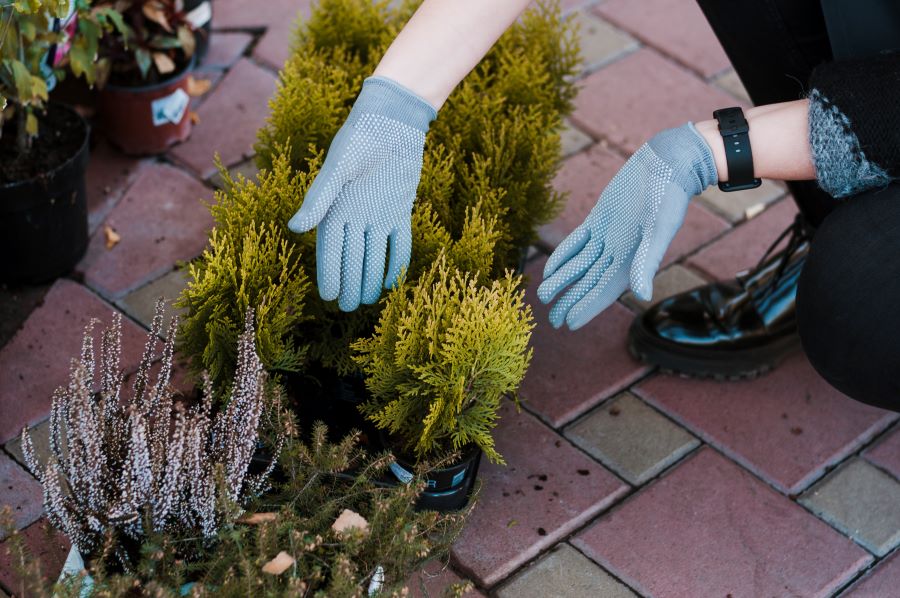
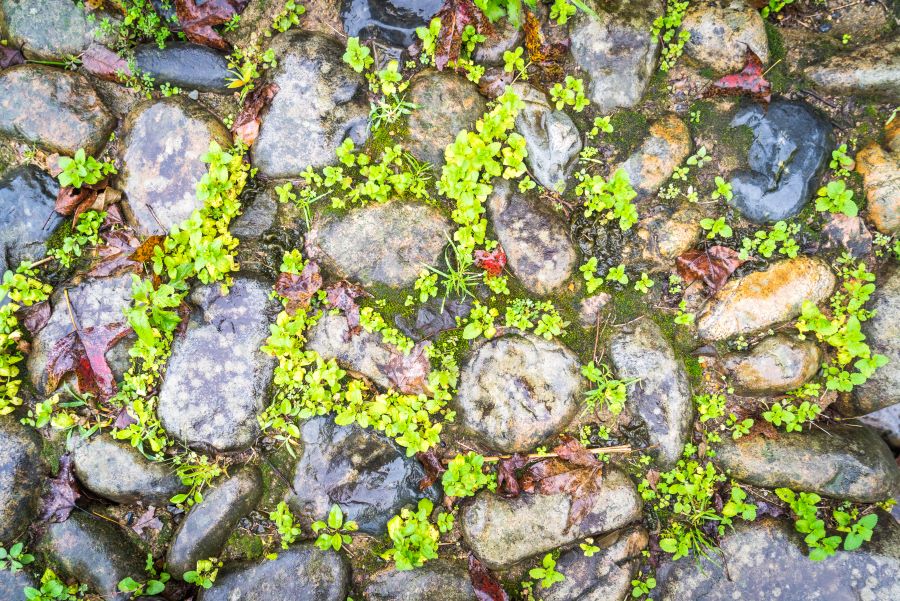
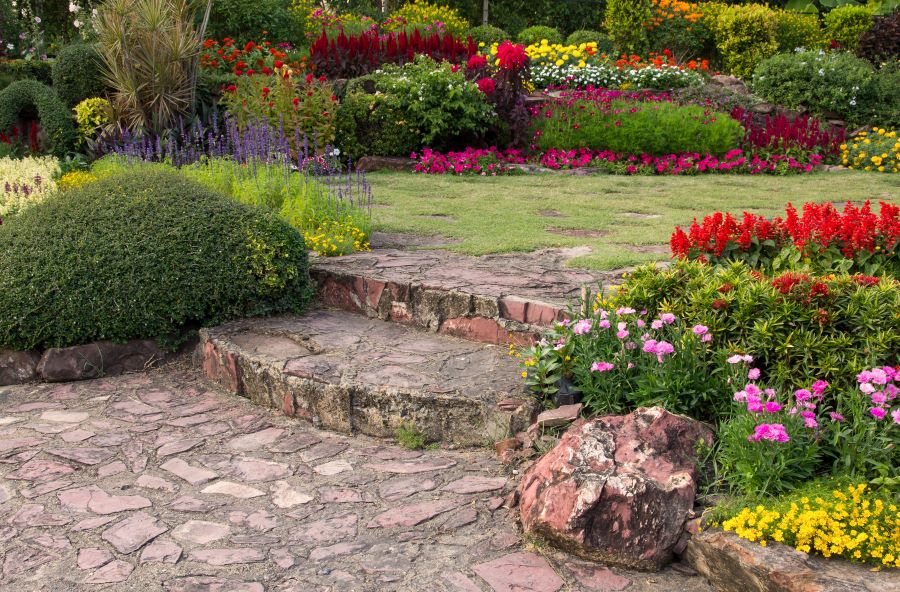
The Challenges of Traditional Landscaping
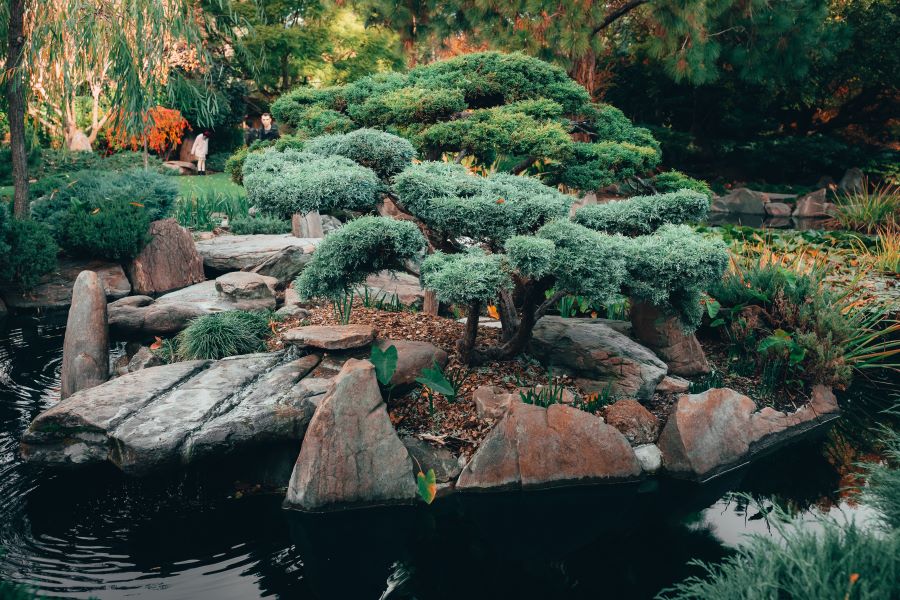
Landscaping has long been a cherished aspect of home ownership, offering a sense of pride and a boost in curb appeal. However, the charm of traditional landscaping comes with its own set of challenges. No more needing to clear the area of weeds or scatter mulch. No more controlling the growth and spread of shrubs and ground cover plants.
Much like a beloved yet finicky old car, natural grass requires consistent care and attention. Let’s delve into the nitty-gritty of these challenges that every green thumb confronts.
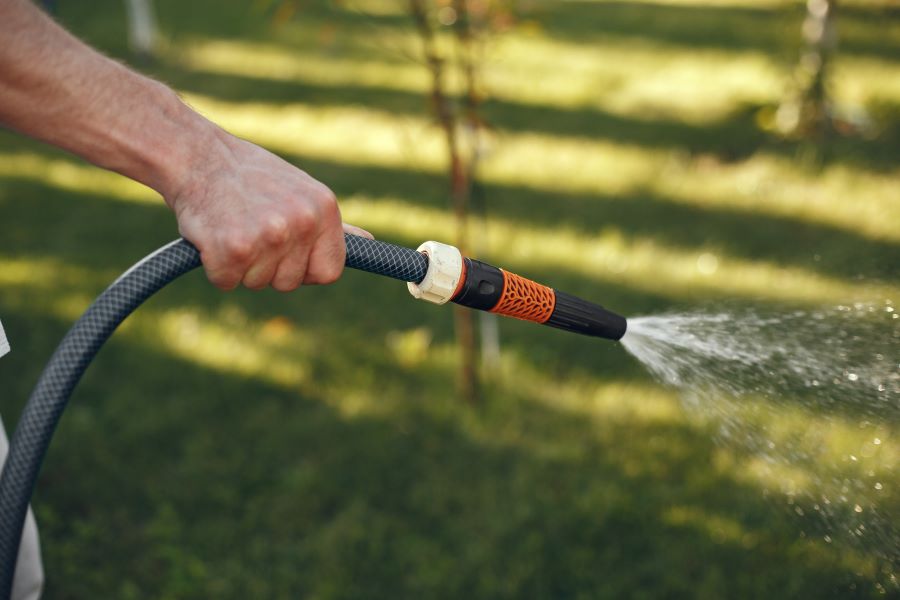
- Frequent Watering: Keeping natural grass fresh and green is an endeavor. It’s like having a pet that constantly wants water. Rain or shine, it beckons for hydration.
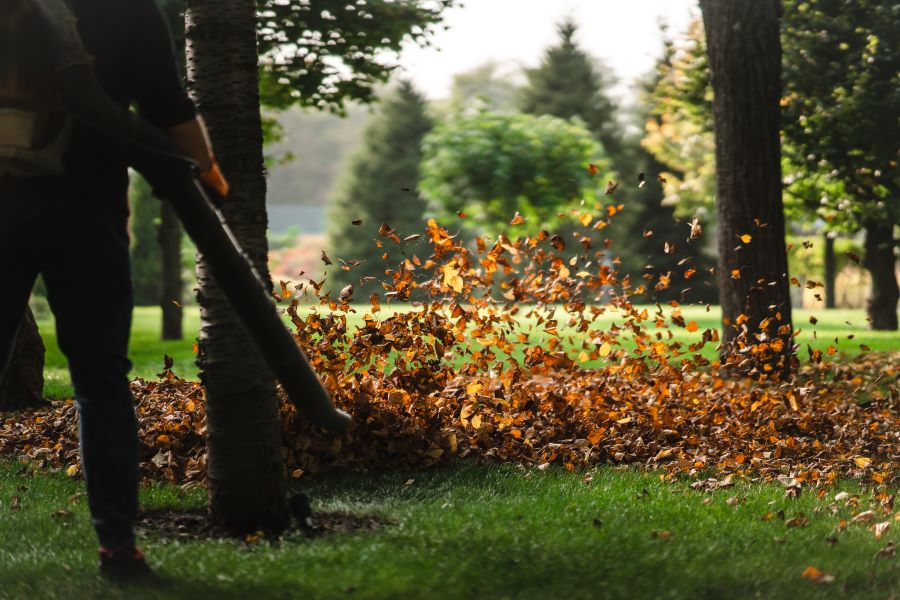
- The Mowing Saga: Picture this. Saturday morning, instead of a lie-in, you’re battling with a lawnmower, cursing every time the blades get stuck. It’s a ritual many would gladly skip.
- Fertilizers and Growth Boosters: Natural grass demands attention. Like a movie star in need of constant pampering. Unlike most plants, synthetic grass expects nothing – it can keep its lustrous look without any soil nutrients.
- Battling Pests and Diseases: A natural lawn is often the party venue for pests. It’s like a nightclub for bugs, and not the kind of party you’d want to attend.
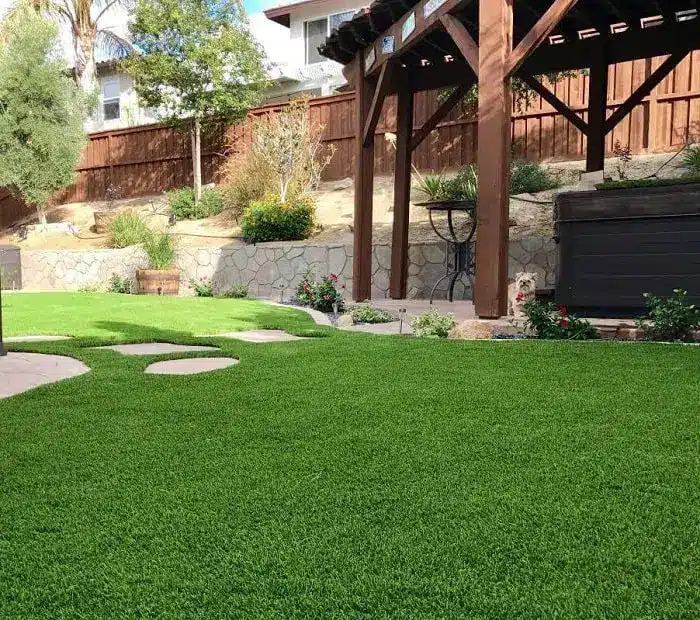
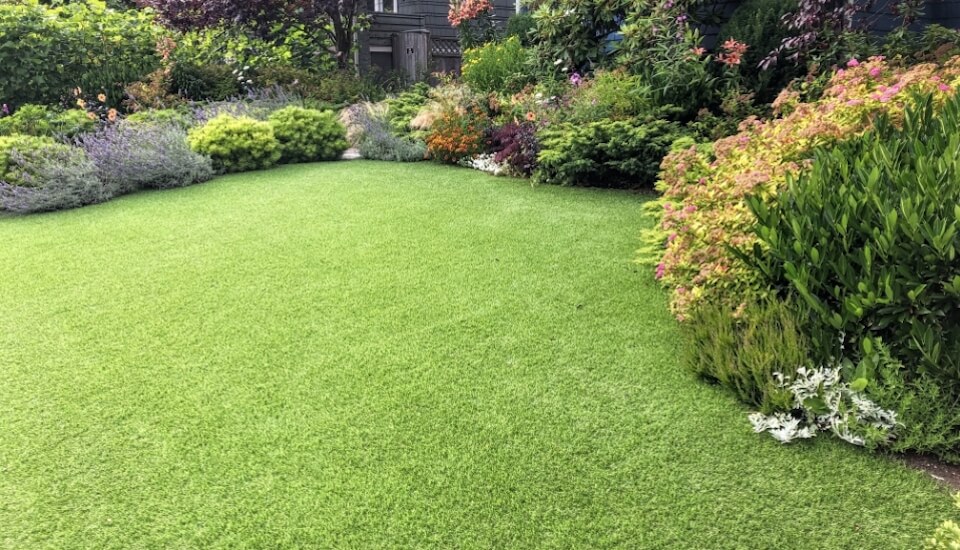
Benefits of Synthetic Grass for Low-Maintenance Landscaping
Have you ever dreamed of a garden where the grass is always greener? Well, with synthetic grass, it’s not just a dream from an old Beatles song, it’s a reality. For those diving into the world of low-maintenance landscaping, synthetic grass looks like it’s been plucked straight from the turf of a high-end soccer field. But it’s not just about looks; there are plenty of benefits to boot!
- Low water requirements
Imagine turning off your irrigation system and watching your water bill drop. That’s the beauty of synthetic grass. Unlike its natural counterpart which gulps water, synthetic grass just sits there, looking lush without a sip. Your grass will be green, your wallet will be green, and so will the environment.
- Minimal Maintenance
For those who love the aesthetic of a lawn but not the elbow grease, it’s time to meet your match. Remember that annoying chore of mowing? With landscaping with low maintenance like synthetic grass, that becomes a thing of the past. And hey, you won’t be missing that chore on your Saturday mornings.
- No fertilizers or pesticides
Natural lawns can be a bit like high-maintenance celebrities, always needing this or that to look their best. But synthetic grass? It’s like that cool, easy-going actor who doesn’t need all the drama. No need for chemical-laden fertilizers or pesticides. This alternative grass lets you breathe easy, knowing your yard isn’t contributing to chemical runoff.
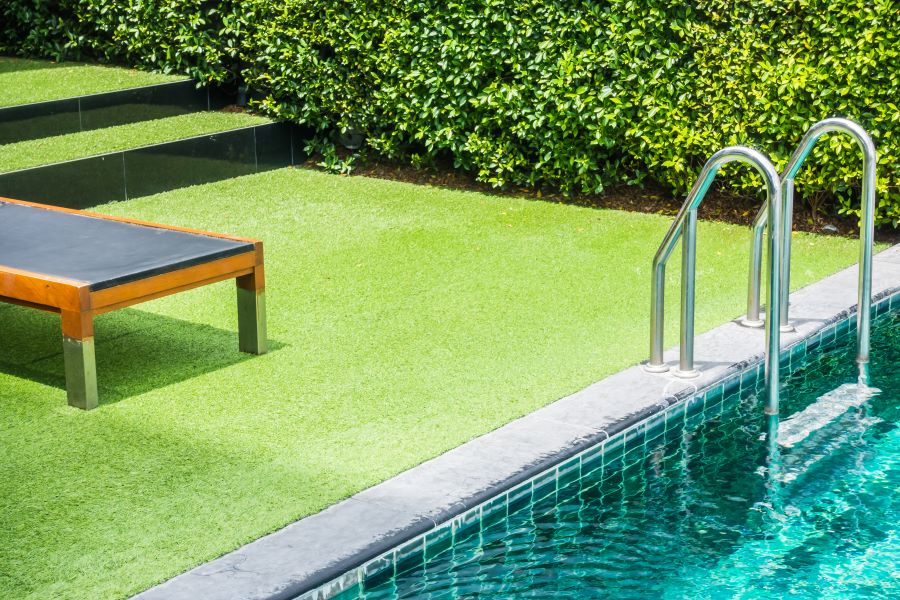
- Year-round appeal
Natural grass has its seasons. Sometimes it’s lush, sometimes it’s brown, and sometimes it’s somewhere in-between, trying to find its identity. Synthetic grass, on the other hand, has consistency on lock. No matter the season, rain or shine, this alternative grass remains a vision of verdant perfection. Imagine impressing your guests year-round with a flawless yard landscaping design.
- Durability and longevity
When life throws a curveball (or a wild football party), synthetic grass stands strong. While natural grass can show wear and tear, synthetic grass, with its durable design, keeps bouncing back. Talk about resilience! Whether it’s a friendly BBQ or kids playing, it remains unflappable.
Environmental Considerations
There’s a lot of talk about reducing carbon footprints and living a greener life. Synthetic grass is your garden’s ticket to this green revolution. By slashing water use, ditching chemicals, and reducing the machinery involved in lawn care, your backyard becomes an eco-hero. And every time you look out over your perfect landscape design, you can do so with a sense of pride.
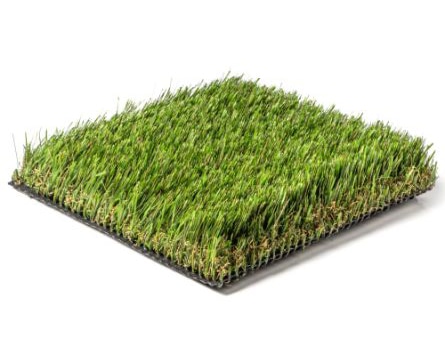
When it comes to artificial turf maintenance, think of it like dusting off your favorite vinyl record. A little care here and there, ensuring it’s clean, and occasionally giving it a brush to fluff it up. And here’s the best part: if by chance there’s damage? Swap it out, and your lawn’s back to its prime. If only natural grass had such an easy reset button!

Comparing the Costs of Synthetic Grass with Natural Grass
Stepping into the world of synthetic turf feels like getting a first-class ticket on a luxury cruise. Sure, there’s an upfront cost. But like buying an all-you-can-eat buffet ticket, you reap the benefits as you go. A complete installation of synthetic grass will set you back around $5 to $20 per square foot, covering everything from initial preparations to the finishing touches.
Natural grass, though it has its rustic charm, is like maintaining a vintage car. The initial setup might cost between $1 to $2 per square foot. But then consider the frequent watering, the regular tune-ups (fertilizers), and the occasional repairs (dealing with pests and diseases). The costs stack up, and fast!
Choosing landscaping with low maintenance via synthetic grass is akin to opting for a self-driving car. You get to enjoy the journey without the constant stress of driving. The yard remains vibrant, without the worry of over or under-watering, no pests feasting, and no sudden patches of brown ruining the view.
Ready for a change? A greener, more effortless garden awaits. Contact our professionals to embark on this transformative journey. They’re equipped, experienced, and eager to bring a touch of synthetic magic to your home.
A Greener Tomorrow, Today!
Synthetic grass has emerged as a shining beacon of innovation. It’s not just about beautifying spaces, but also about offering homeowners simplicity, sustainability, and serenity. Don’t get us wrong; natural plantings have their charm. But the maintenance-free, always green, and lush appeal of synthetic grass is hard to ignore.
With the countless advantages it brings, transitioning to synthetic turf is an investment in a vibrant, low-maintenance future. As you embark on your gardening journey, remember: sometimes the grass is indeed greener on the other side, especially if it’s synthetic!